Overview
In this project, I was able to walk through the process of generating a cloth simulation. The cloth was simulated using a grid structure of point masses and pairwise combinations of springs between them, allowing for the mimicking of the movement of most fabrics. Then, I used Verlet integration to calculate the physical forces being exerted on these individual masses, and also looked at how collisions with objects as well as the grid-cloth itself affected these point masses and their forces. Lastly, shaders were implemented using OpenGLSL in order to emulate different effects and textures on the cloth material. Obstacles that I encountered were mostly due to typos or incorrect vector arithmetic. Overall, I thought this project was very fun and allowed me to see how the movement of materials is implemented!
Part I: Masses and Springs
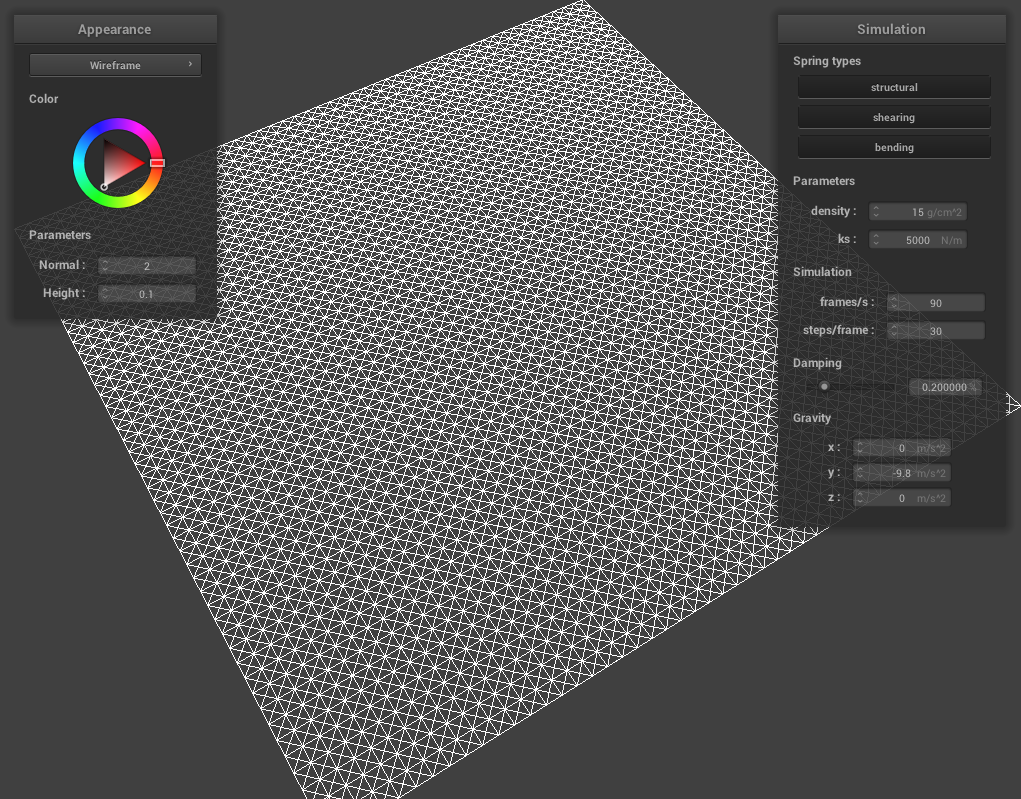
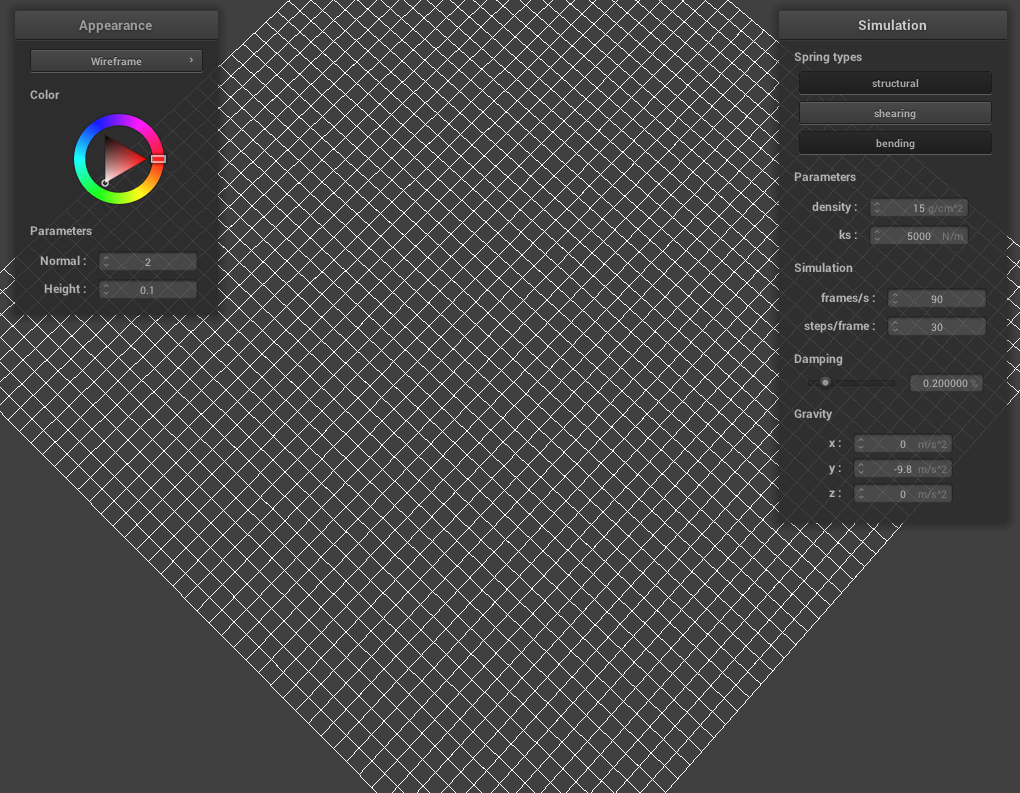
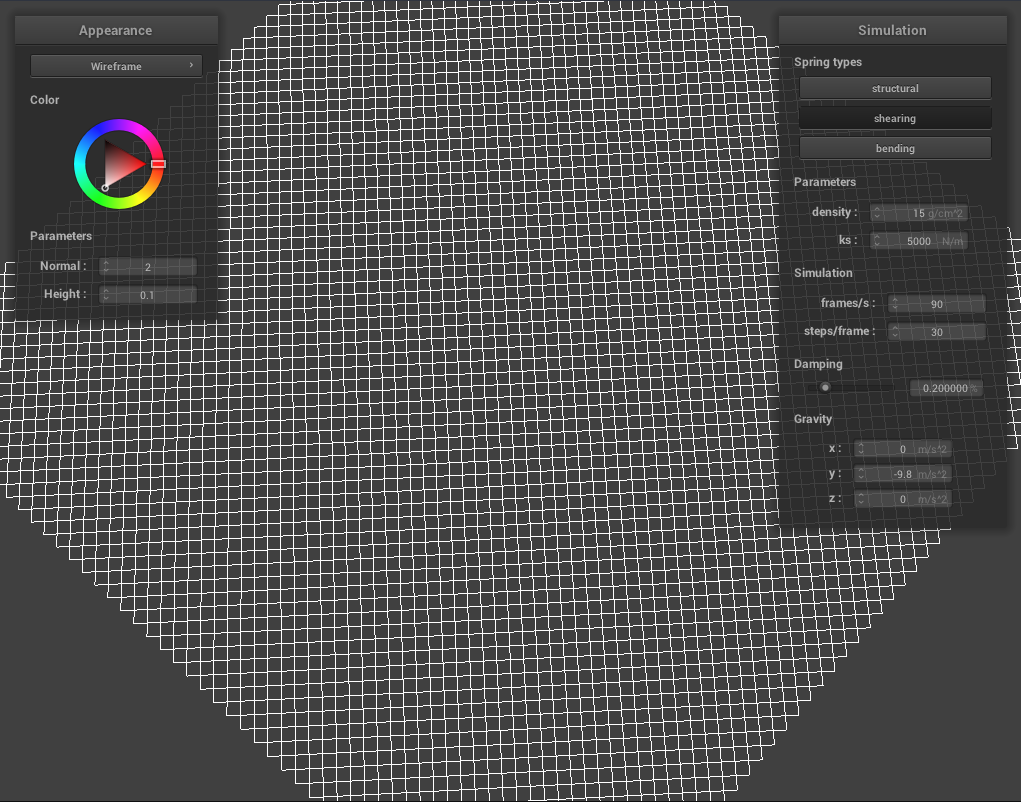
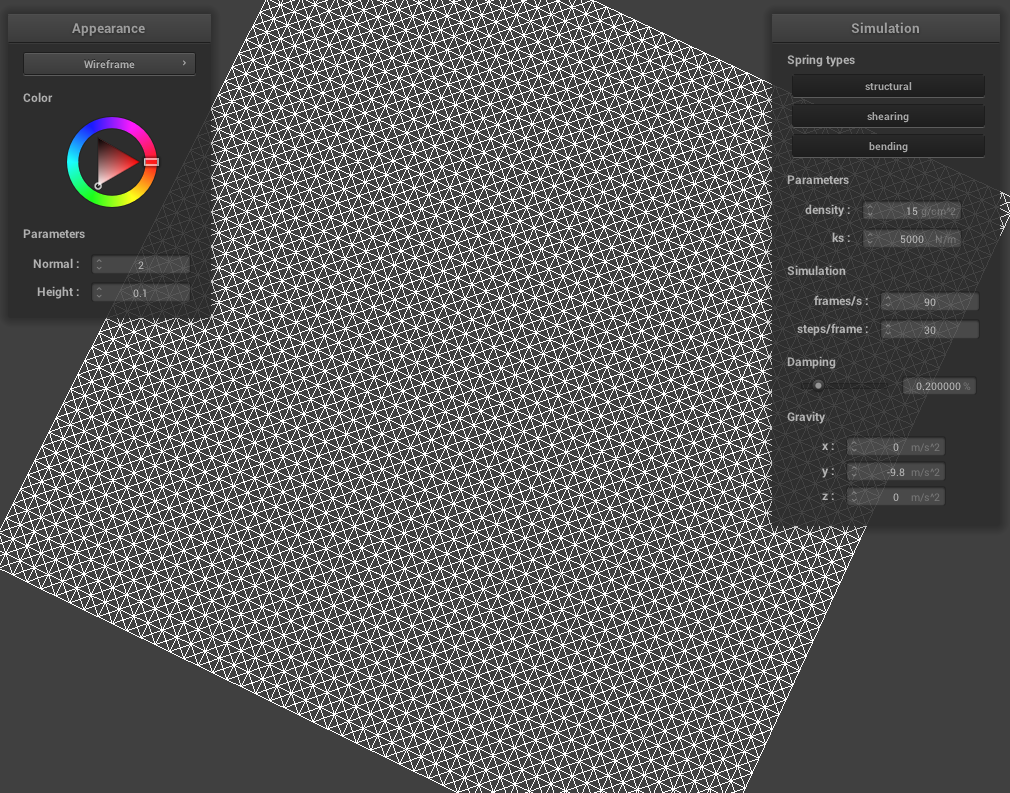
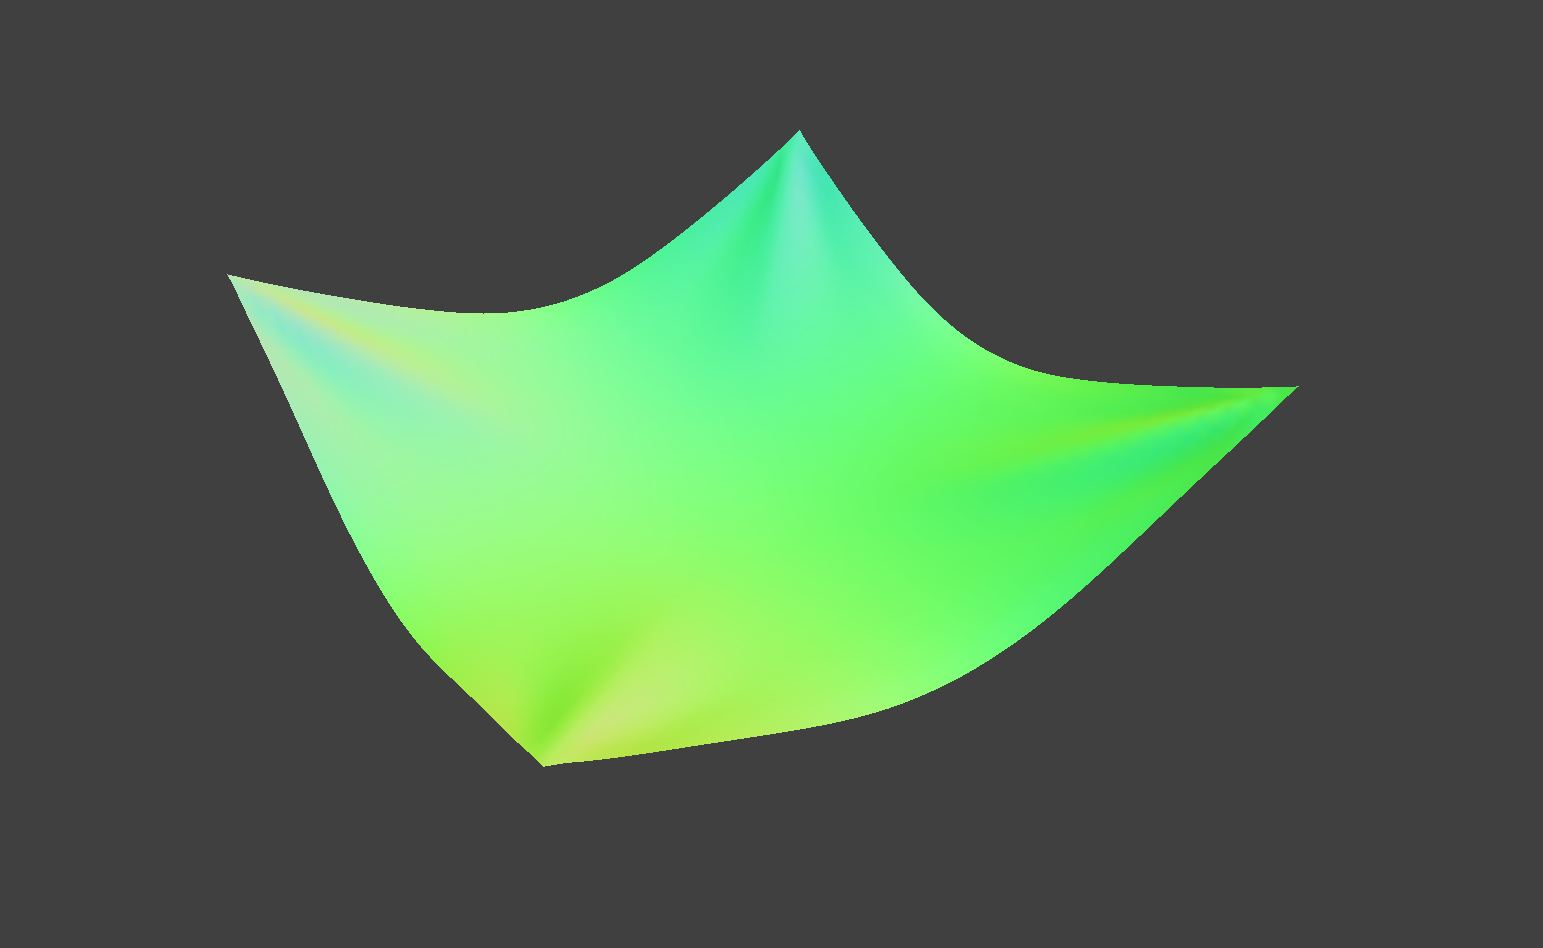
In this portion, I implemented an evenly-spaced grid of point masses, then assigned specific combinations of springs to them depending on certain constraints as stated in the spec. Overall it was straight-forward, minus a few bugs where I was mis-checking whether a neighbor was still in the grid. Below are some screenshots of /scene/pinned2.json showing the wireframe of the cloth, and several different views with and without certain spring constraints.
|
|
Part II: Numerical Integration
In this portion of the project, I used Newton's famous F=ma equation to calculate overall force on each individual point mass, and Verlet integration as per the spec to find the new positions of each point mass per new time step. Then I had to constrain the springs so that they would not infinitely stretch, using the paper by Provot. Some bugs that I ran into involved making sure that my vector directions were correct, as well as remembering to scale vectors correctly.
Below are various .GIF representations of the screen records I grabbed while simulating the cloth draping. Comparing the output while adjusting spring constant ks, we can see that the lower the ks value, the more structure the material has, giving a stiffer representation. The higher the ks value, the stretchier the spring, and the rippling effect is intensified. With density, lower values give a more floaty material, and it drapes slower than more dense cloth simulations. Similarly, damping caused the cloth to act like the air around it became more dense. In other words, dampening caused the cloth to drape in a "moving through honey" fashion, while no damping meant no resistance, thus the cloth would swing back and forth until it settled into the final resting state.
|

|
|

|

|

|

|
|
Part III: Collisions with Others

In this part, I implemented sphere and plane primitive collisions with the cloth by calculating tangents intersections, and then creating a correction vector scaled by the value of friction to adjust the position of the point mass, "bumping up" masses that would have "gone through" the primitive onto the surface of the primitive instead. Below, .GIF renderings of scene/sphere.json show some interesting and notable differences when the spring constant value ks is adjusted. With a low spring constant, as in Part II, the material is softer and stretchier, thus wraps more fully around the sphere. The higher the spring constant, the more rigid the material, which results in a less shapely wrapping of the primitive, as seen below when ks = 50,000.
|

|
Part IV: Self-Collisions
This portion involved implementing a hashing function to hash the positions of each point mass into a 3D volume with parameters w, h, and t. I implemented a polynomial hash function, and used that hash function to fill in a hash map of all point masses, where each key is mapped to a vector of point mass pointers. This allowed me to quickly check for the nearest neighbors of each point mass that were likely to collide with the current point mass, and thus if the distance between these two masses is within a certain range, I calculated the correction vector and adjusted the position of the point mass as needed. A few bugs that I ran into involved making sure that my directional vectors were a) normalized and b) pointed in the right direction. Additionally, I discovered that my bounds were incorrect in collision/plane - fixing that prevented my cloth from slipping through the plane when ks was small.
Below are double-timed .GIF renderings of scene/selfCollision.json, with the density and ks parameters adjusted. A lower ks value meant softer material, and resulted in more and faster folds. Higher ks values indicate stiffer material, thus less and slower folds, as the cloth is more rigid. With density, a low value resulted in smoother folding and less ripples, whereas the high density parameter looked like the cloth was crushing itself on impact, with lots of quick and little ripples throughout all the contact point. Overall, it was very interesting to see and watch!
|

|

|

|

|

|
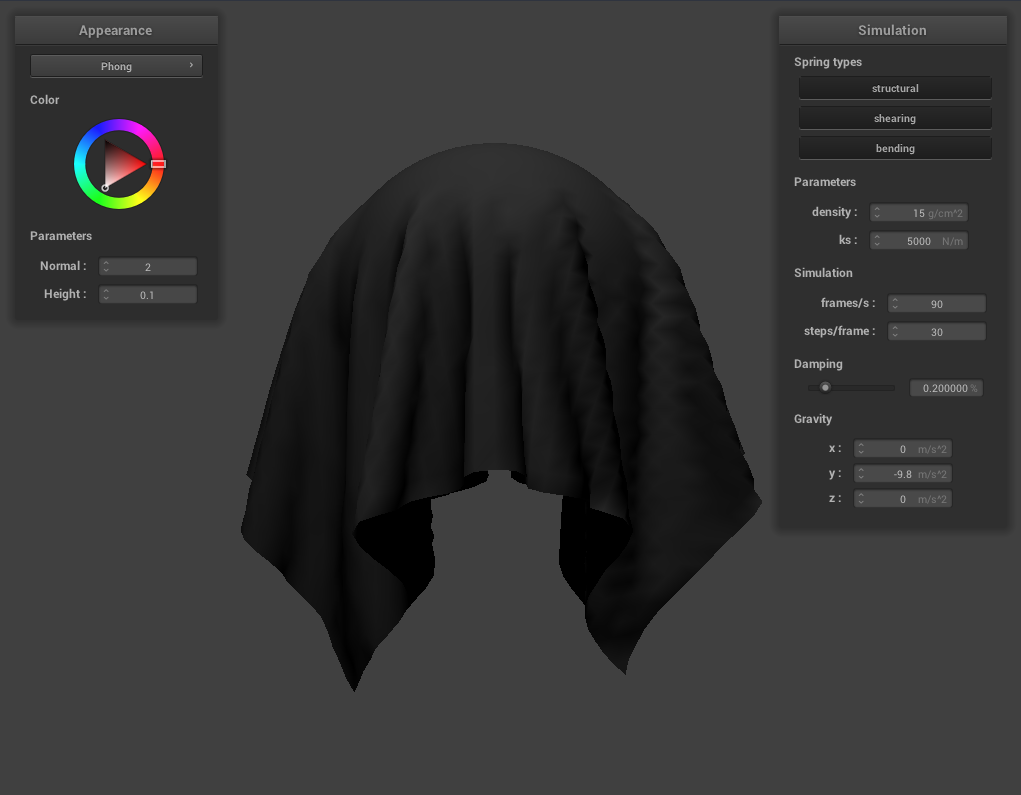
Part V: Shaders
A shader program is a program that runs on the GPU while computations like raytracing run on the CPU in parallel. These programs are useful because it can take an input and output a single 4-D vector containing information about said vertex, such as displacement or color. For OpenGL, there are vertex and fragment shaders. The former adjusts aspects of the vertex (position, etc), while the latter looks at post-rasterization aspects, such as color.
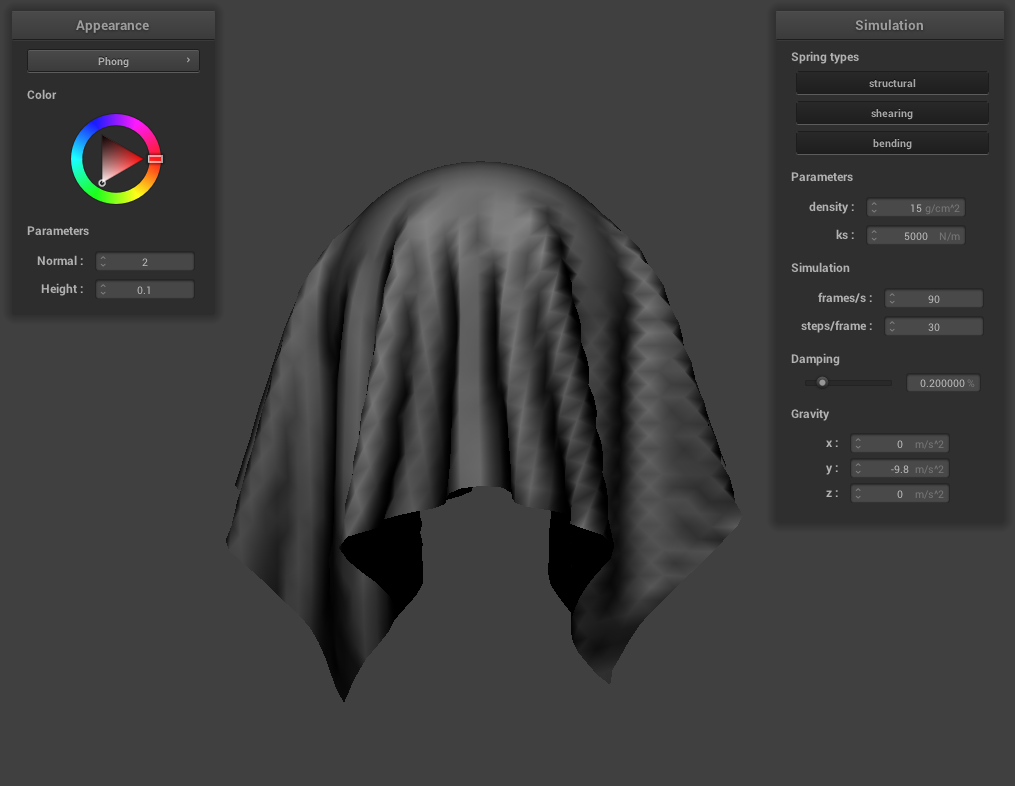
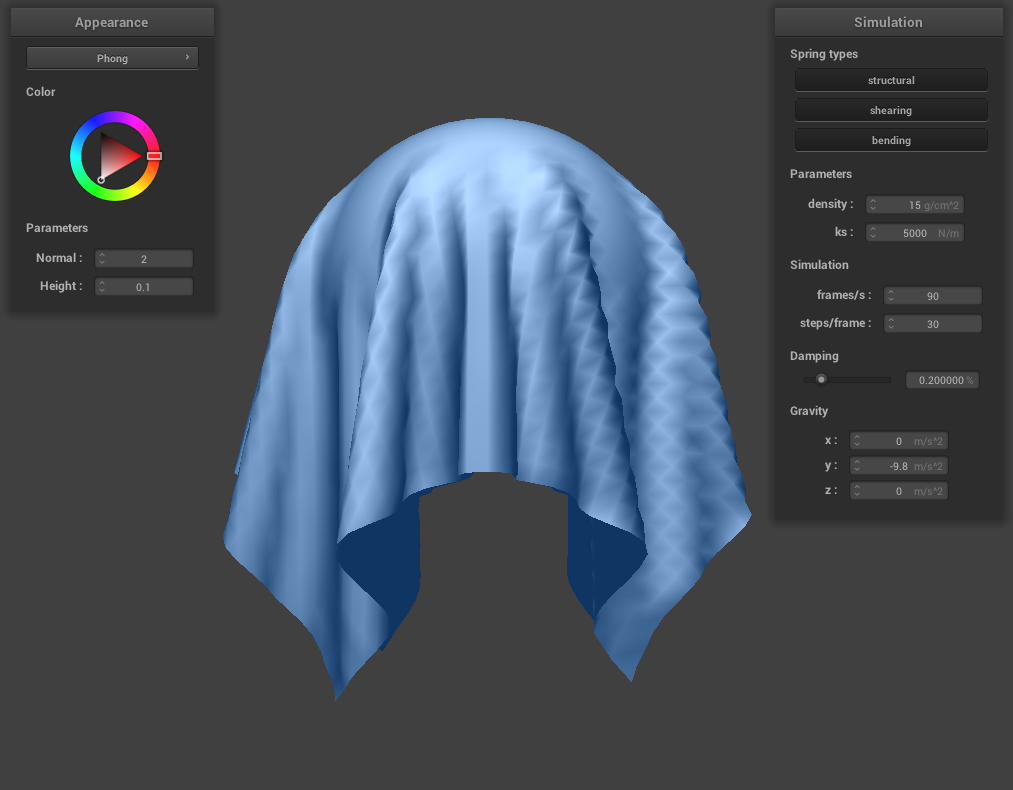
Blinn-Phong shading, shown below, takes the summation of the ambient, diffuse, and specular highlight output values, and shades the render such that we get the natural variation as light reflects/refracts around the environment.

|
|
|
|
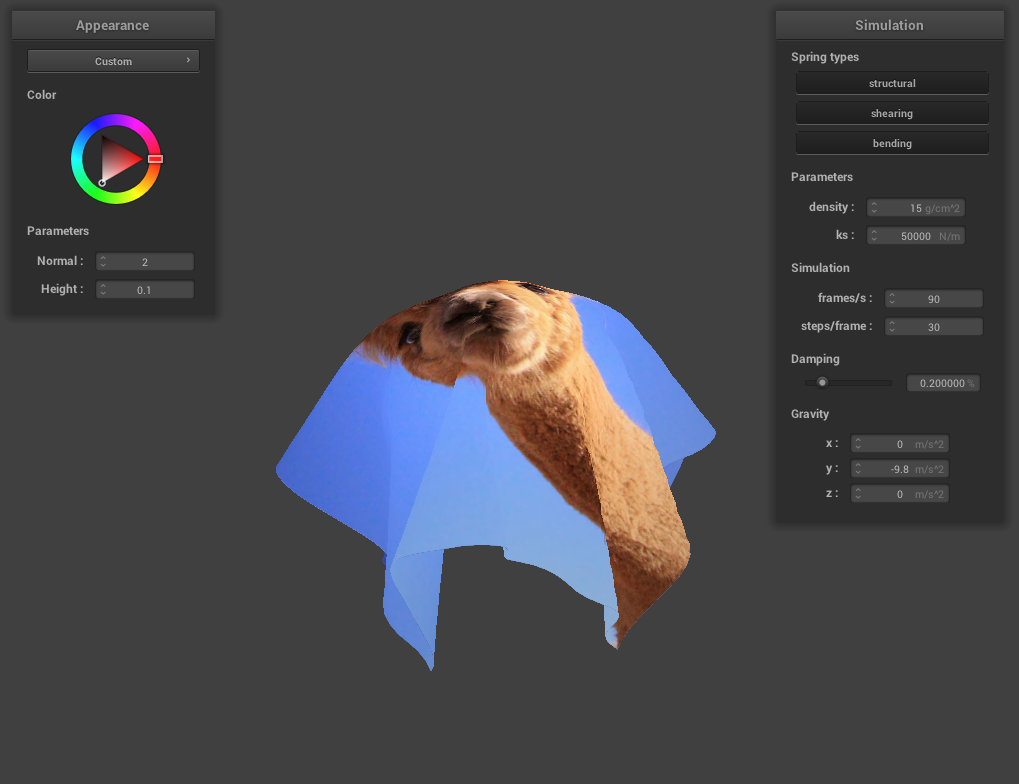
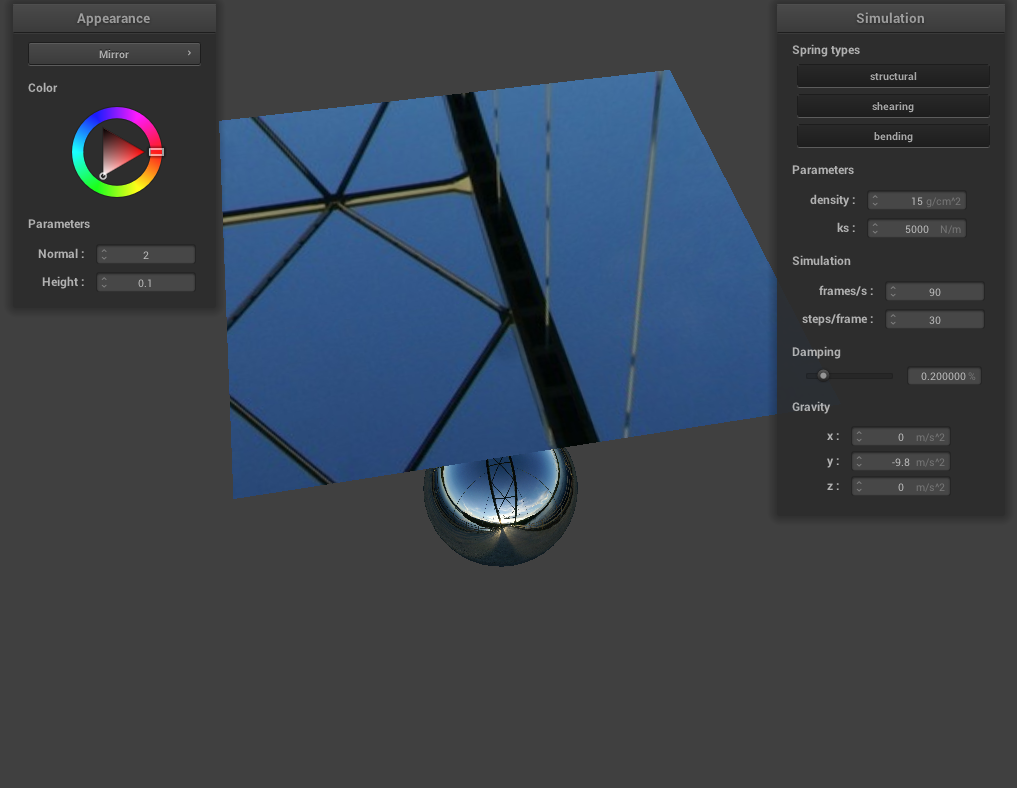
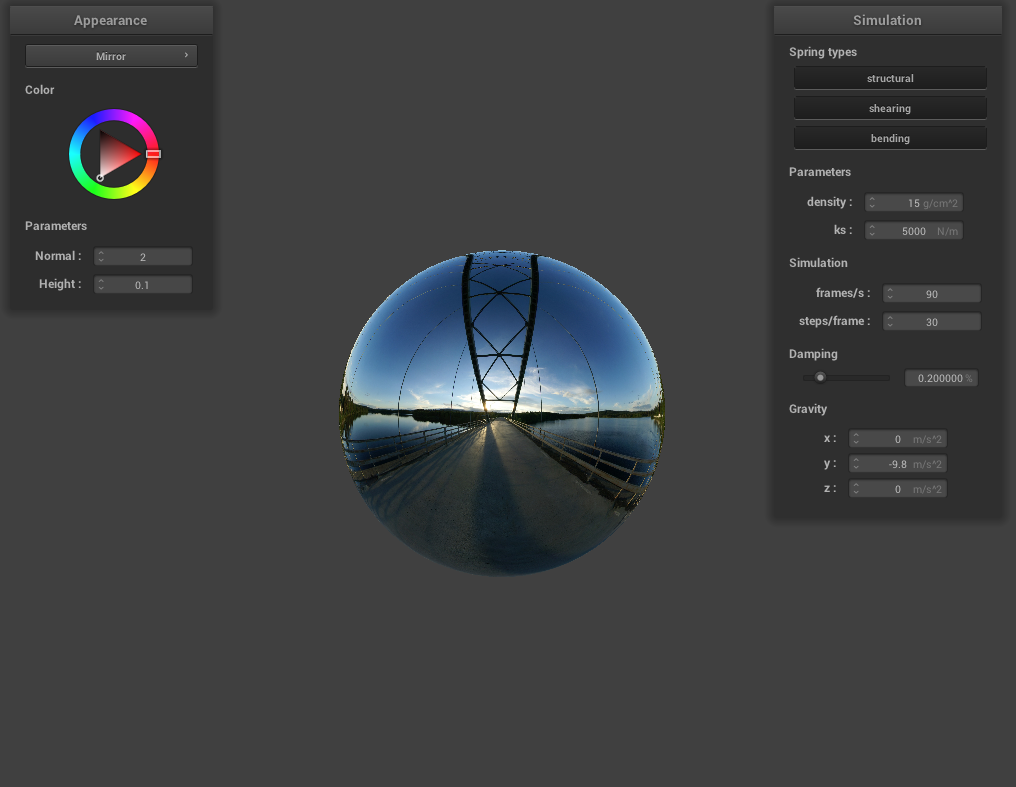
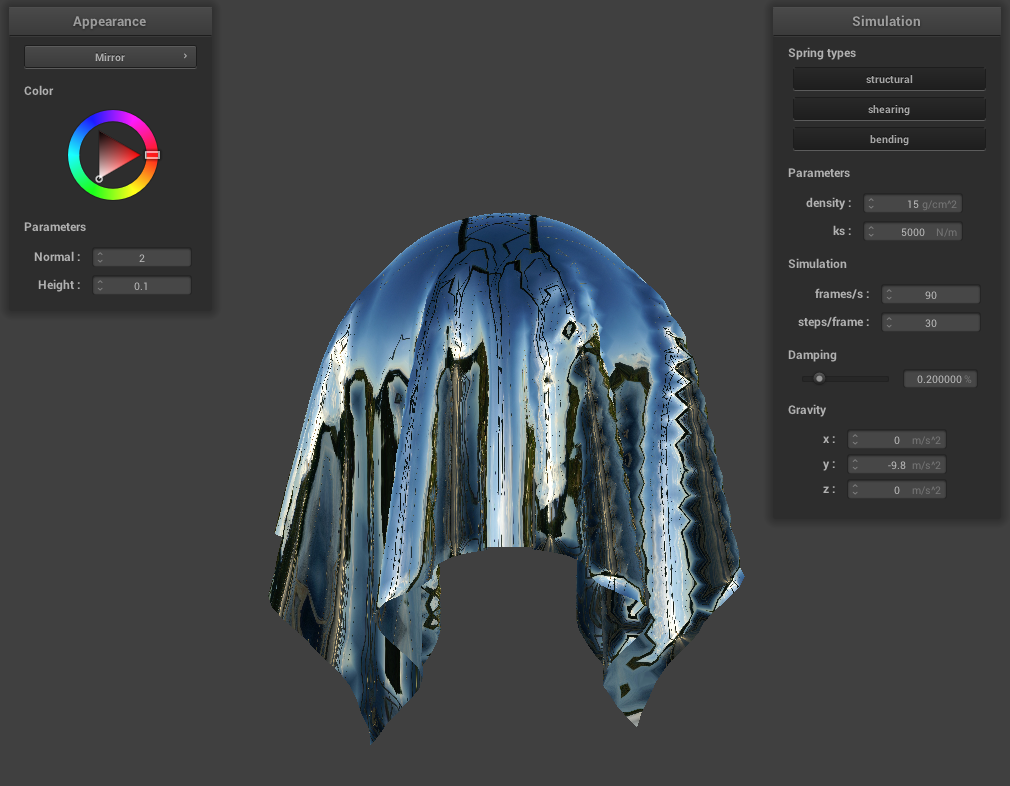
Below is /scene/sphere.json with a texture map of an alpaca image I found on the internet, followed by the mirror shader I implemented depicted on the cloth prior to impact, the sphere prior to impact, and finally the draping.
|
|
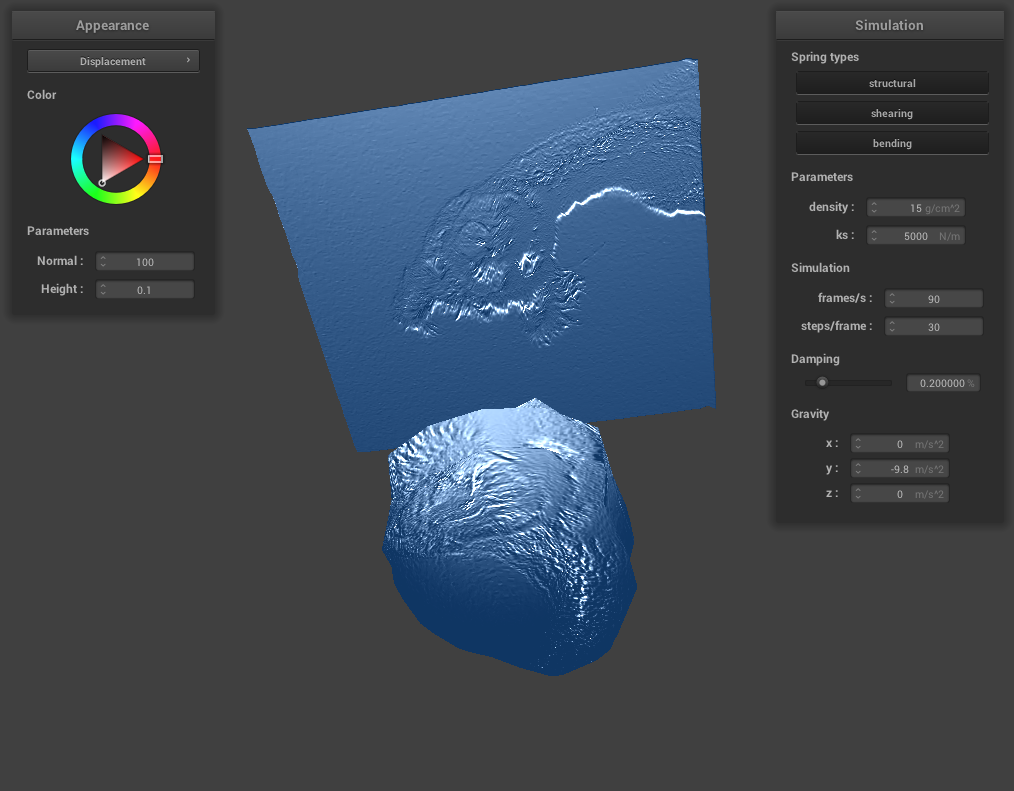
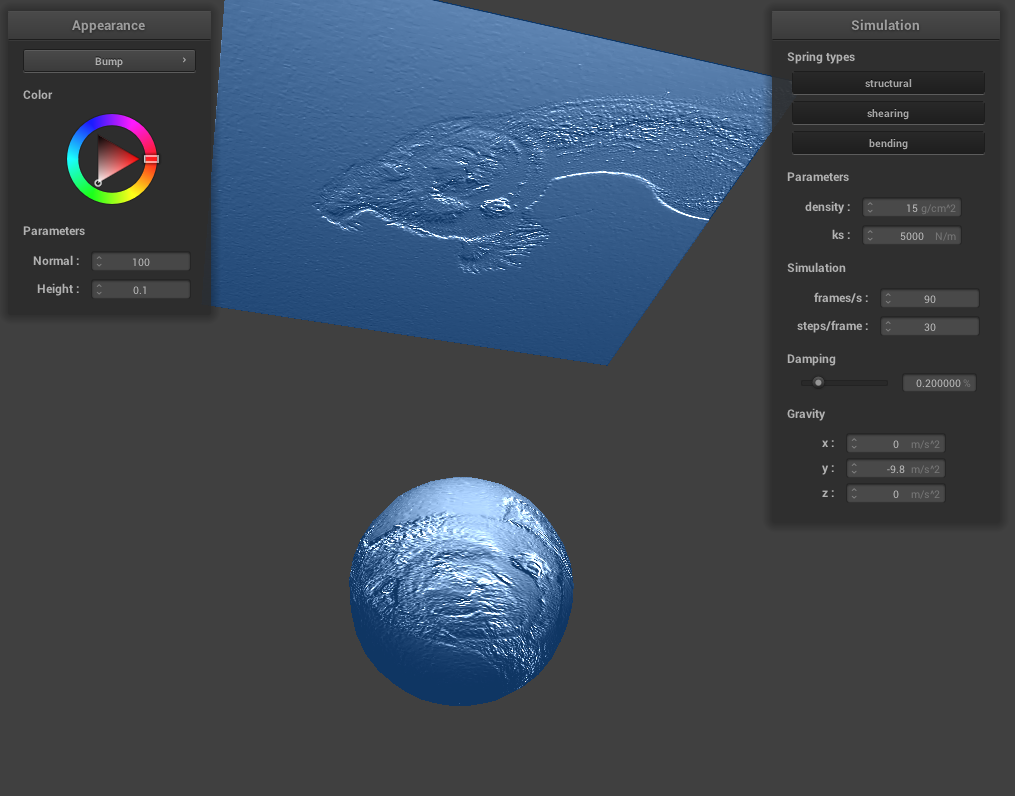
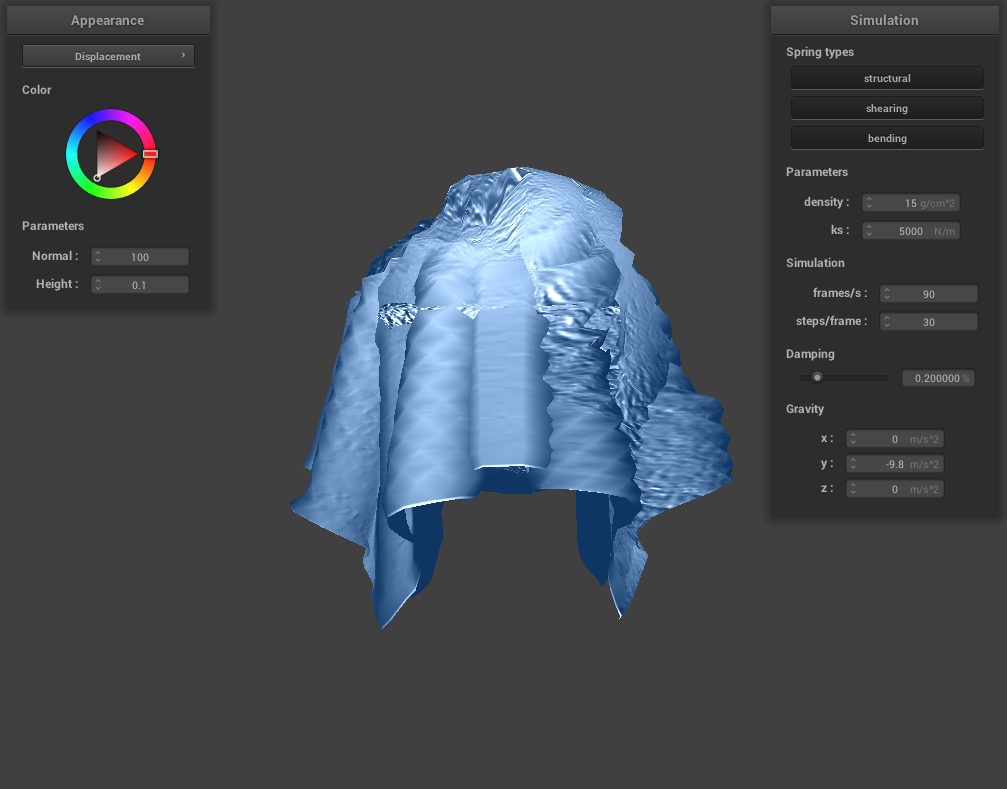
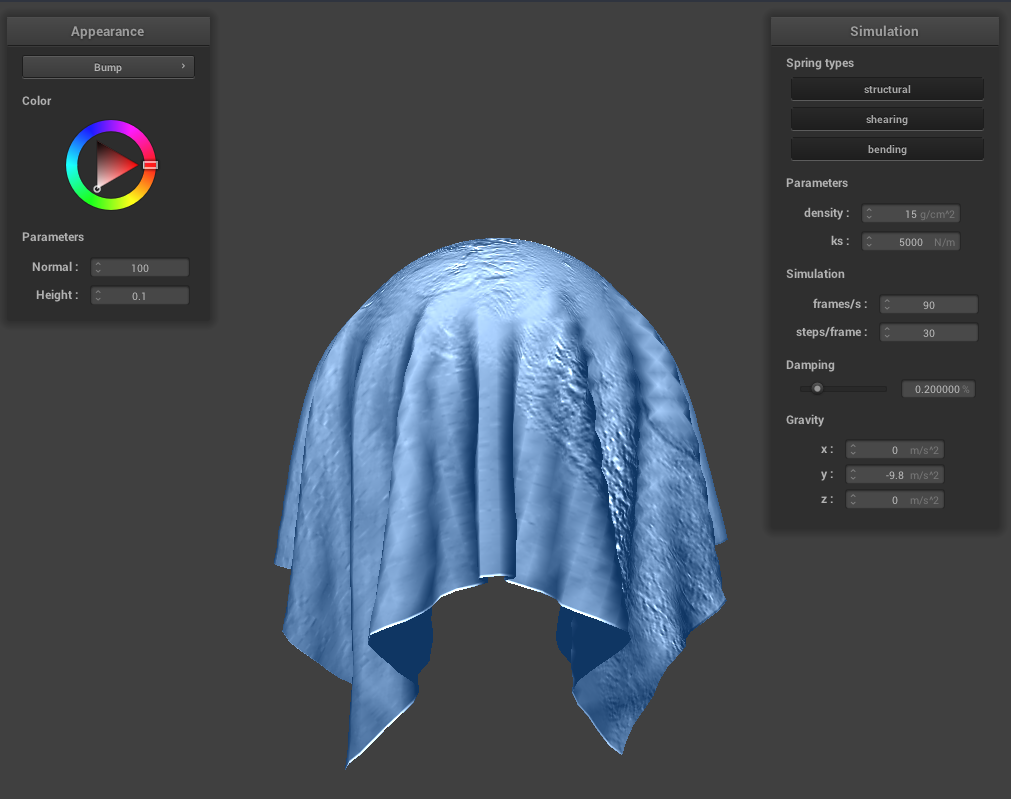
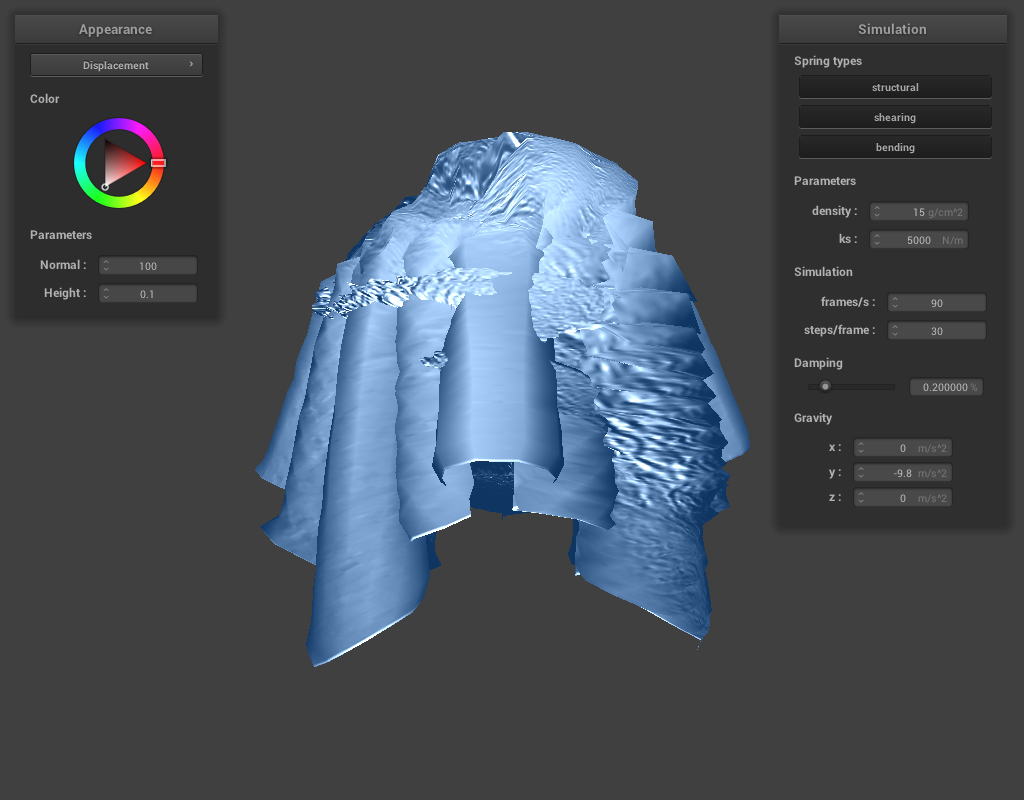
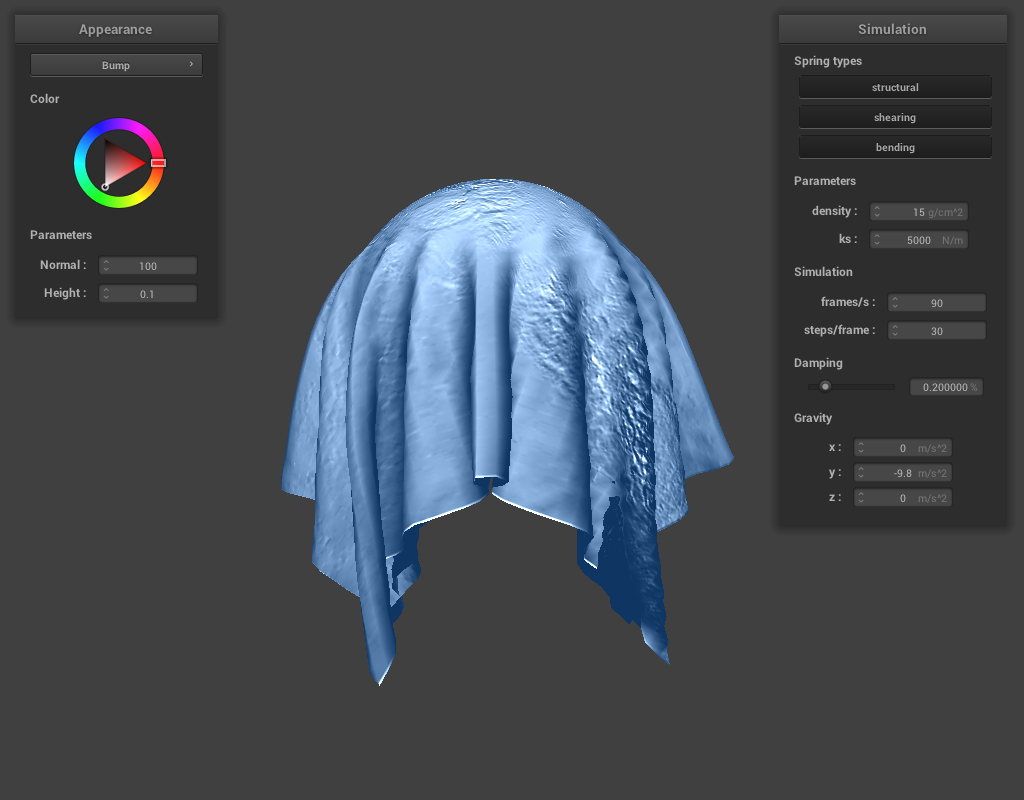
Lastly, below is sphere.json with the alpaca texture map again, for both bump (left column) and displacement (right column) mapping. The first row is a view from below the sphere to see the texture mapping on both the cloth and the sphere. The second and third rows compare between bump and displacement, and sphere coarseness of 16 versus 128. We can see that the more coarse the sphere, the less "fine" the texture mapping results in once the cloth has impacted the sphere. Vice versa, the more detailed the spheres, the more detailed the textures are, and the alpaca's fur is much more apparent in both the height of the displacement, and the bumps raised on the bump shading. Overall, bump shading generates a much more coherent mapping of the alpaca, whereas the heights caused by geometrical displacement kind of make the left column a general mess. I imagine though that displacement mapping would make really cool pop-up 3D shadings! For all renders, normal=100 and height=0.1.
|
|
|
|
|
|